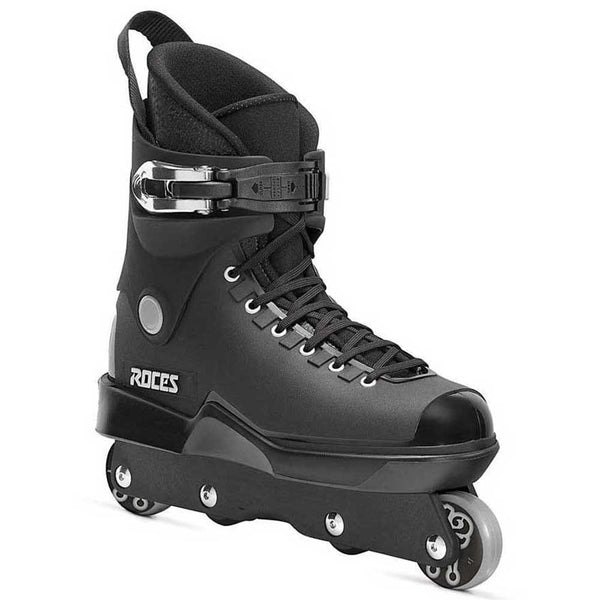
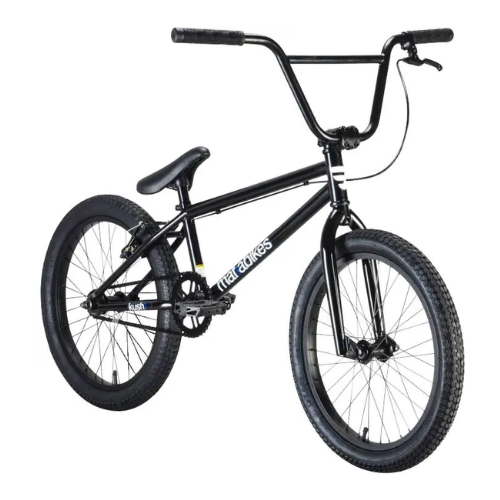
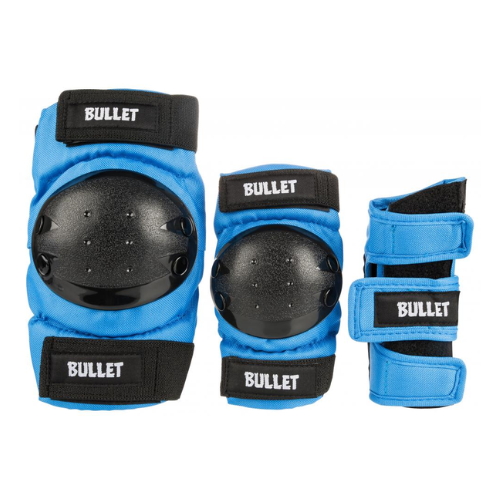
Your terrain, body size and intended tricks shape your setup. Start with comfortable dimensions and foot space, then compare the components that suit your riding.
Park, street or a bit of both?
Select what suits you to see the key points.
Park and first tricks
A compact deck and a lightweight setup are easier to move through rotations. Choose a scooter you can handle comfortably, without assuming the smallest option is always the right one.
Keep in mind
Easier handling comes with less room for your feet.
A wider deck provides more room for your feet and more surface for slides. Compare its length and weight too: width alone does not tell you how it will feel.
If you ride both park and street, start with a complete scooter in comfortable dimensions. A balanced setup lets you discover your preferences before replacing individual parts for your riding.
Keep in mind
A practical starting point, without committing to an extreme setup.
Compare the scooter's overall height with the height of the handlebar itself: these are different measurements. Stand on the deck to check your position and freedom of movement, rather than using one universal size for each age.
Wheel dimensions
Every wheel measurement
Check the diameter, core width, urethane width and axle diameter. Match these measurements to the deck, fork and brake specifications: a wheel with 26 mm urethane can have a 24 mm core, so width needs clarification.
Compatibility
Component compatibility
Before replacing the handlebar, clamp or fork, identify your compression system and the dimensions of your existing parts. HIC and SCS setups use different handlebar configurations, so check the manufacturer's instructions instead of relying on appearance.
Ready to choose?
Write down your height, main riding terrain and current scooter dimensions before comparing options.
Start with what you actually want to do: learn tricks, get around town or go cruising. Board shape and wheels make a difference to riding.
Learning tricks or getting around?
Select what suits you to see the key points.
Learning tricks
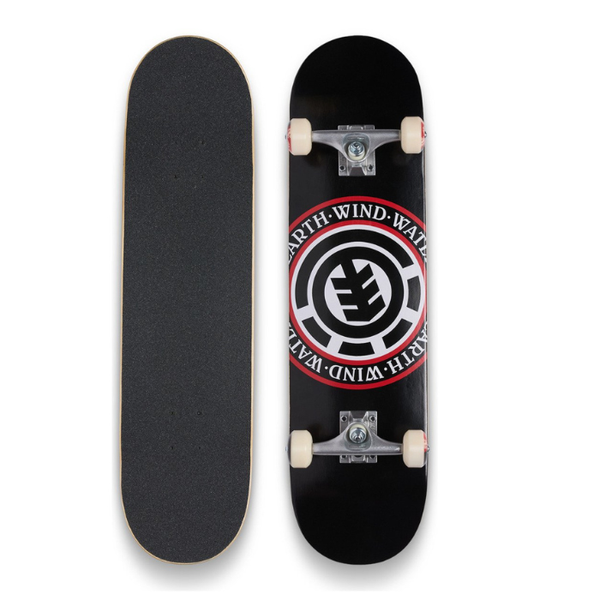
A street board with an upturned nose and tail suits ollies, flips and skatepark features. Its smaller, harder wheels work well on the smooth surfaces typically found at skateparks.
Keep in mind
On rough pavement, these wheels transmit more vibration.
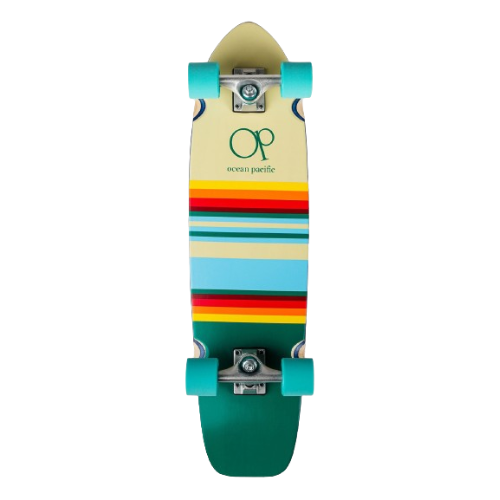
A cruiser combines a compact shape with soft wheels for everyday travel. Easy to carry and turn, it suits journeys where you regularly switch between walking and riding.
Keep in mind
Its short wheelbase provides less stability than a longer board.
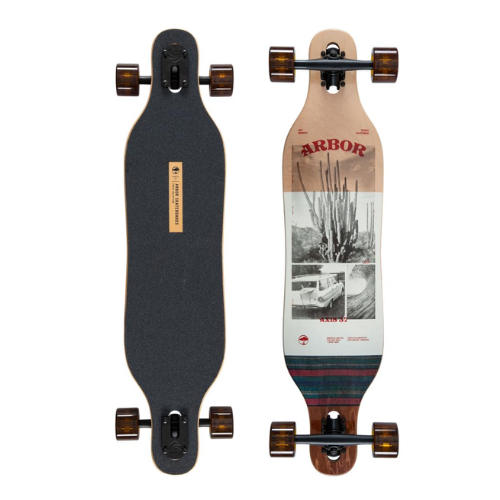
A longboard with a longer wheelbase prioritises stability and comfort. A lowered deck makes pushing easier, a useful difference when you want to cover more distance on regular rides.
Keep in mind
It takes more space and turns less easily at low speeds.
Pintail and directional shapes for flowing turns; lowered or drop-through decks for comfortable pushing. Compare the complete setup.
Longboard: dancing & freestyle
A longer platform for steps and movement, often with kicks for tricks. Look at usable standing space and board weight.
Longboard: freeride & downhill
Dedicated setups for slides and speed. These need different skills and equipment from a cruising board.
Longboard: distance
Low platforms for repeated pushing; pumping setups use a different balance of trucks and wheelbase. Start with your preferred way of riding.
Before you choose
Three checks to find equipment that fits.
Deck width
Deck width
A wider deck provides more support, while a narrower deck responds more quickly. Compare the room available for your feet and your intended riding style: shoe size helps with the choice, but does not decide everything.
Truck width
Truck width
Check the trucks' axle width against your deck width using the manufacturer's sizing chart. Brands use different size names, so similar model numbers do not necessarily mean identical measurements or the same recommended deck size.
Wheel choice
Wheel diameter and hardness
Choose wheels for your surface and riding style. Softer urethane absorbs rough surfaces more comfortably, while harder wheels suit some skatepark uses. Diameter and urethane formulation also matter: hardness alone does not explain how a wheel performs.
Ready to choose?
Rank your priorities: tricks, transport or cruising. Then compare two boards designed for that use.
Recreational skating, dancing or skatepark sessions: start with what you want to do, then check the fit, wheels and braking system.
Which skates suit your surface and skating style?
Select what suits you to see the key points.
For recreational skating
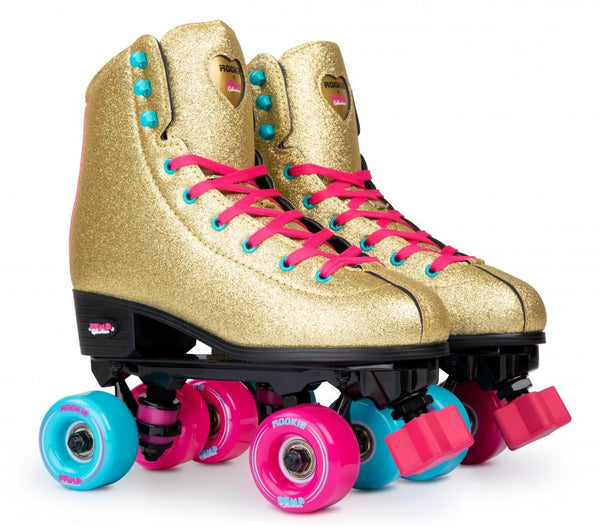
For your first outings, look for recreational skates with comfortable support. Check their braking system and plan to learn how to stop before focusing on skating faster or covering longer distances.
Choose wheels for your surface: softer wheels help absorb uneven ground outdoors, while harder wheels roll more freely on a smooth rink. How you skate matters as much as the look.
Keep in mind
Wheels that feel comfortable outdoors can feel slow on a smooth rink.
If you want to slide along rails and ledges, look at aggressive skates. Their equipment is designed for those tricks, while recreational skates are intended for a different type of skating.
Keep in mind
Choose for your tricks first, then compare comfort for getting around.
Measure the length of each foot and consult the guide for the exact model. Do not automatically use your usual shoe size or another brand's sizing: the shape and fit are part of the choice.
Check the fit
Check the fit
Try them with the socks you intend to skate in, then adjust the laces and buckles. Your feet should feel secure without painful pressure. Excessive tightening is not a solution for feet that move around inside.
Check the equipment
Check the surface and brake
Decide whether you will skate on a smooth rink, outdoors or at a skatepark. Check the model's wheels and brake: these details should match your intended use and the way you plan to stop.
Ready to choose?
Write down both foot lengths and your intended surface before comparing models.
Geometry changes your position and the bike's reactions. When choosing a BMX, compare frame length, your intended riding and how the main components are constructed.
Which bike fits your riding?
Select what suits you to see the key points.
Starting at the skatepark
A versatile complete bike with a brake lets you start without choosing every component separately. Look for a comfortable position and a bike you can handle before comparing specialist equipment.
Keep in mind
Specialist adjustments and accessories can wait until your riding preferences become clearer.
Compact geometry, including shorter rear chainstays, makes a bike more responsive. It suits quick changes in position, but the overall setup still needs to give you enough room to move.
Keep in mind
Very responsive handling asks for greater precision.
Longer geometry prioritises stability through transitions and as speed builds. Consider the whole frame rather than a single measurement to understand the handling the manufacturer has designed it to provide.
Keep in mind
A longer setup can require more effort through tight rotations.
A 20 inch label describes the wheels, not the entire size of the bike. Compare the top tube length as well, then handlebar height and the space available to move comfortably in your riding position.
Construction
The stated construction
Check exactly which parts use chromoly. A full chromoly fork and a fork with only a chromoly steerer do not describe the same construction. Read the separate specifications for the frame, fork and handlebar before comparing bikes.
Component upgrades
Options for future changes
Before adding pegs, check axle dimensions, available space and the manufacturer's instructions. Some frames designed for trails do not accept pegs, so having wheels of the same diameter does not establish compatibility with another bike's accessories.
Ready to choose?
Compare two frame lengths on assembled bikes and note where you feel free to move.
Choose for your activity and measurements. Well-fitting equipment stays secure as you move, without painful pressure or getting in the way.
How do you find protective gear that stays in place?
Select what suits you to see the key points.
Choosing a helmet
Measure your head and compare the model's size options. Check its stated activities, then its fit: the helmet should remain level and stable when the straps are correctly fastened and adjusted.
Keep in mind
A shape you like does not guarantee the right fit or intended use.
Check the measurements required for each pad, then try it while bending your joints. Look for a secure fit and coverage suited to your activity, without preventing you from moving comfortably.
Keep in mind
More extensive coverage can also mean a bulkier pad.
Take current measurements even if an age range is shown. For a pad set, check each piece separately: a good fit at the knees does not guarantee that the wrist guards fit.
Keep in mind
Room to grow should not allow protective gear to slip out of place.
Wrap a soft measuring tape around the head, above the eyebrows and ears. Record the measurement in centimetres and compare it with the exact helmet's chart: the same size labels can differ between models.
Helmet adjustment
Adjust the helmet while wearing it
Position the helmet level, then fasten and adjust the straps following its instructions. Move your head gently: it should not tip or twist freely. A secure fit should still feel comfortable, without painful pressure.
Pad fit
Check every piece
For knees, elbows and wrists, measure at the points specified by the manufacturer. Compare each result with the appropriate guide, even within a set. Then bend your joints to check security and freedom of movement.
Ready to choose?
Record your measurements in centimetres and keep the exact model name for each item you compare.
Start with what they want to do and their current measurements: height, foot length for skates and head circumference for a helmet. Compare these with the exact model’s guide. Oversized equipment can compromise fit or control; an age range does not replace these checks. Include protective gear in your starting budget.
I’m a beginner: a complete setup or separate parts?
For a first skateboard, freestyle scooter or BMX, a complete setup simplifies component choice. Check its intended use and dimensions first, then the assembly required on the product page. Choosing separate parts becomes useful once you know which characteristics you want to change. Keep part of your budget for protective gear.
Park or street: do I have to decide now?
You can start with versatile equipment in comfortable dimensions, then refine it as your riding develops. On a scooter, a compact and lightweight setup helps rotations; a wider deck gives more support for street riding. For skateboarding, the surface and wheels also affect comfort. A category name does not replace comparing dimensions and weight.
How can I check that a replacement part will fit?
Record your equipment’s brand, model and year if you know it. Check the part’s dimensions and markings, then photograph how it is fitted. Compare the relevant interfaces: axle, width, mounting or compression system. Parts that look alike are not necessarily compatible. If a measurement is missing, have it confirmed before ordering.
Choosing a selection results in a full page refresh.